
Ghost Mannequin AI: What It Gets Wrong, and How to Check It
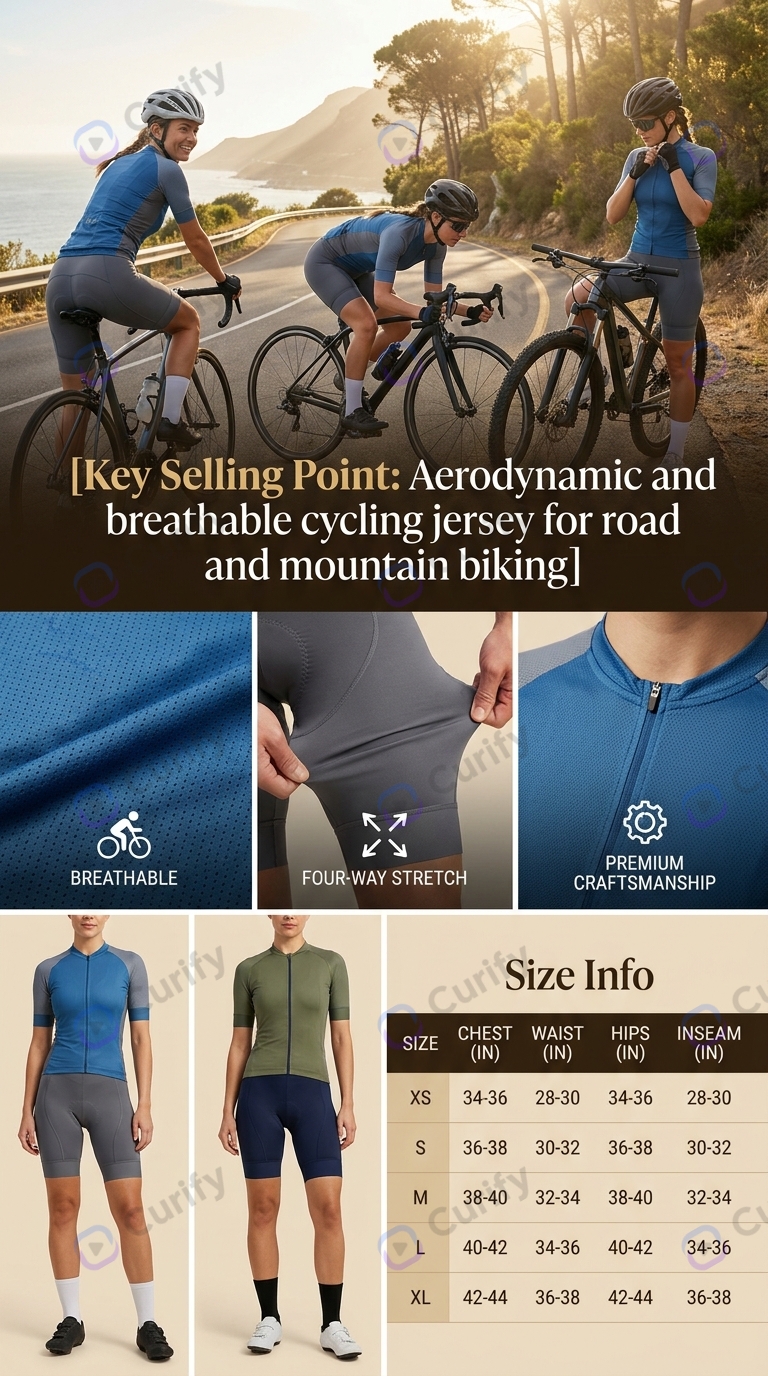
A ghost mannequin shot has to lie convincingly. The garment keeps a human shape - shoulders filled, chest with volume, a collar that stands - and there is nobody in it. Done well it is the highest-converting image an apparel listing carries. Done badly it reads as a deflated bag, and the tell is almost always the same square inch of the frame: the back of the neck. This is the apparel counterpart to [what a printer actually needs from a dieline](/blog/dieline-generator-guide) - different trade, same principle. The file has to satisfy a machine and a buyer at the same time, and the machine is the less forgiving of the two.
What ghost mannequin photography actually is
Ghost mannequin - also sold as the invisible mannequin or hollow man effect - is a composite, not a single exposure. The traditional shoot is two frames:
1. The garment on a mannequin or dress form, shot front-on.
2. The garment turned so the inside of the back collar is visible, usually with the mannequin's neck piece removed.
An editor cuts the mannequin out of frame 1 and pastes the inside-back from frame 2 into the neck opening. That patch is the neck joint, and it is the entire craft of the technique. Everything else is background removal.
AI ghost mannequin tools collapse the two frames into one. You upload a single photo - on a model, on a hanger, on a form - and the model is asked to remove the wearer and *invent* the inside-back that was never photographed. That is the difference worth holding onto: the classic method composites something real, the AI method generates something plausible. Most of the failures below follow from it.
Why apparel sellers shoot it instead of flat lay
Three ways to photograph a garment, and they are not interchangeable:
| Approach | Shows fit | Cost per SKU | Where it fails |
|---|---|---|---|
| Flat lay | Poorly - drape is gone | Lowest | Structured items read as fabric, not clothing |
| Ghost mannequin | Yes - volume without a person | Middle | Unstructured knits collapse; the neck joint is fragile |
| On-model | Yes, plus styling and scale | Highest - model, studio, rights | The buyer reads the model as much as the garment |
Ghost mannequin sits in the middle for a commercial reason rather than an aesthetic one: it shows fit without introducing a body the buyer has to identify with, and there are no likeness rights to clear. It is also the format most marketplaces prefer for the primary listing image - clean subject, plain background, nothing competing with the product.
The neck joint is the whole job
Open the Fashion E-commerce template
When a ghost mannequin result looks wrong but you cannot say why, check these three things in order. They are ranked by how often they turn out to be the actual problem:
1. The inside-back collar. Is the colour right? Is there a facing, a contrast binding or a label that should be there - or one that should not? The model is guessing this region from the outside of the garment, so it is where invention concentrates.
2. The shoulder line. A real garment on a form has a shoulder seam that sits slightly proud. Generated ones tend to round it off, which is what makes an output read as inflated rather than worn.
3. The opening's depth. A convincing neck opening shows *some* interior - a shadow, a hint of the back panel. Too flat and it reads as a sticker; too deep and the garment looks like it has a hole in it.
None of this needs a trained eye. It needs knowing which square inch to look at first, which is the part nobody tells you.
Which garments survive it, and which collapse
The technique is not equally viable across a catalogue, and knowing this before you shoot saves the most time:
- Works well - structured pieces that hold their own shape: blazers, denim jackets, outerwear, button-down shirts, anything with a collar and a facing. The garment does the work; the AI only has to not ruin it.
- Works with care - knitwear and jersey. They hold shape enough to read, but drape is easy to lose and a generated result often looks stiffer than the real garment.
- Usually fails - silk, chiffon, anything unlined and fluid; deep V and cowl necks, where the neck joint has no clean edge to hide behind; sheer fabrics, where the invented interior shows through the front.
If a category is in the third group, flat lay is not a compromise - it is the honest format. Selling a drapey silk blouse on a rigid invisible mannequin misrepresents the product, and that shows up later as returns.
What AI ghost mannequin still gets wrong
Four failures account for most rejected output, and only the first is obvious:
- The invented inside-back. The model has never seen inside your collar, so it generates one. It gets the colour wrong more often than the shape.
- Inner-layer bleed. If the source photo is on a model wearing a camisole or tee underneath, that layer often survives into the output - reading as underwear showing at the placket. This is the most common reason a take gets discarded outright.
- Silhouette drift. A boxy garment quietly becomes a fitted one, because the model carries a prior about how clothes sit on bodies. This is the expensive one: it changes the fit the buyer is judging.
- Detail flattening. Button counts change. A pointed hem tab becomes a straight hem. Pocket seams vanish. Countable details are where generation is least reliable and, usefully, where checking is easiest.
How to check a result in under a minute
The useful question is not whether it looks good but whether it still describes the product. Two measurements catch most of it, and both are ratios against pose landmarks, never pixel comparisons:
- Length -
(hem_y - shoulder_y) / (hip_y - shoulder_y)
- Width at bust -
garment_width_at_bust / body_width_at_bust
Ratios survive crop and camera distance. Absolute pixel measurements do not.
Do not measure the output against your source photo. If the source is a garment on a dress form and the output is a garment holding a human shape, the two share no landmark, no scale and no pose. Any proportion computed between them is measuring the dress form, not the error. Compare against your size chart in centimetres, or against nothing at all.
For discrete details, count them. Buttons, buckles, visible seams, hem structure - a vision model reading a written spec catches a changed button count reliably. It is the check most people skip because it feels too simple to be worth doing.
Frequently asked questions
**Is ghost mannequin better than flat lay?** For structured garments, yes - it shows fit, which flat lay cannot. For unlined silk and chiffon, no: a rigid invisible shape misrepresents how the fabric actually hangs. **Ghost mannequin vs on-model - which converts better?** They do different jobs. Ghost mannequin is the stronger primary listing image because nothing competes with the product and no likeness rights are involved. On-model earns its place in the secondary images, where scale and styling matter. **What is neck joint editing?** Compositing the inside of the back collar into the neck opening so the garment looks worn rather than hollow. It is the step that makes the technique work, and the step AI has to invent rather than copy. **Can I make a ghost mannequin photo without a real mannequin?** You can start from a photo on a model or a hanger, but results are materially better from a form: the garment is already holding a correct shape, so less has to be generated. **Why does my output show the model's undershirt?** Inner-layer bleed. Choose source photos where the wearer's own top is a single layer, so there is nothing underneath to carry over. Prompt instructions alone are unreliable here - fix it in the input. **Can I use these images on Amazon and Shopify?** Yes - a clean subject on white is what marketplace primary-image rules ask for. Check the garment colour is still accurate after any background replacement, because colour error is what drives returns.
Tools for each step
- AI fashion model generator - puts a flat lay on a model, and publishes the 27-check QA rubric this post's two ratio checks come from. Not a ghost mannequin tool either; it is the on-model half of the same listing.
- E-commerce product photo - turns a product photo into listing-ready imagery. Not a ghost mannequin generator; useful for the shots around it.
- AI product photo generator - templated catalogue imagery at SKU volume, where consistency across a set matters more than any single frame.
- Die-cut sticker file and print-ready acrylic files - the production-file end of the same discipline, if your catalogue includes merch as well as apparel.
If you sell apparel at catalogue scale, the DTC brands use case covers the wider set-consistency problem this post is one slice of.
What Curify ships here, and what it does not
We do not ship a one-click ghost mannequin button today. If that is what you came for, the honest answer is that a dedicated tool will serve you better right now, and this post is more useful to you as a checking method than as a pitch.
What we do have is the discipline around the output rather than the generation itself: measurable acceptance criteria, set consistency across a catalogue, and production files a factory will accept. That came out of client work where the acceptance test was two numbers on a spec sheet - garment length and bust width - and "it looks right" was not an answer anyone would sign off on.
It is a narrow wedge, and worth stating plainly: most AI apparel imagery is judged by eye, and eye is exactly what silhouette drift defeats. If you are generating five images per garment across hundreds of SKUs, the bottleneck stops being the generator and becomes the check.
Conclusion
Three things worth keeping:
1. The neck joint is where the technique lives. Classic photography composites a real inside-back; AI invents one. Look there first when a result feels wrong.
2. Check ratios, not pixels - and never against the dress-form source, which shares no landmark with a garment holding a human shape.
3. Count the countable details. Buttons and hem structure are where generation is least reliable and verification is cheapest.
If your catalogue is mostly structured pieces, ghost mannequin is worth the setup. If it is mostly drape, shoot flat lay and put the budget into production-ready files instead.
One image is a sample. A product line needs the whole set.
Every Curify template runs in bulk. Send the list — SKUs, words, characters, teams, scenes — and we return the full set generated against one locked visual direction, so the line reads as a collection instead of forty unrelated images.
- Works on any template, not a special few — the same prompt structure applied across your whole list.
- One locked visual direction across the set, so a 40-design line stays on-brand end to end.
- Production-ready output where the format calls for it — die-cut paths, dielines, print resolution.
Take the next step
Putting what you read into practice.
Related Articles
merch-pod
Dieline Generators for Packaging: What a Printer Actually Needs

AI Product Photography: One Hero Shot to 100+ Brand-Consistent Variations