Die-Cut Sticker Design: The AI + Production Workflow for Etsy + POD Sellers
Die-cut is the sticker shape that sells. It outranks every other format on Etsy (8,100 monthly US searches for *die-cut sticker* vs 2,400 for *sticker design*) because buyers know they want the shape: vinyl, contoured to the artwork's silhouette, single piece, no border. The production side is well-understood: 300 DPI artwork, transparent background, 1/8" white edge bleed, contour-cut path (knife-cut along the silhouette). The bottleneck has always been the *design* side — getting a die-cut-ready file out of Photoshop takes 2-3 hours per sticker. AI templates collapse that. This guide covers: what makes artwork die-cut-ready, the prompt patterns that ship correct specs the first time, and the production handoff to Gelato / Sticker Mule / StickerYou.
Die-cut vs kiss-cut vs printable: pick the right product
Three sticker formats dominate consumer marketplaces, and they look identical until you're on the printer's order page.
Die-cut — vinyl cut all the way through, contoured to the artwork's silhouette. No paper border around the design. Single sticker per piece. Premium look; charges $3-5 per sticker on Etsy. Best for mascot single-pose, character single-cut, logo stickers.
Kiss-cut — vinyl partially cut (knife goes through vinyl but not backing paper). Sticker has a paper border around it. Multiple stickers per sheet. The format for sticker *sheets* and *packs*. Charges $4-8 per sheet (with 9-12 stickers).
Printable / paper sticker — full-sheet print on adhesive paper. No individual cut. Cheapest format ($1-2 per sheet) but lowest perceived value. Mostly for planner stickers and craft hobbyist segment.
Die-cut is the highest-margin individual SKU. Kiss-cut sheet is the highest-margin pack. AI templates work for both — the difference is at production handoff, not design.
Five steps from prompt to die-cut SKU
Step 1: Design specs the AI prompt must enforce
Five specs make a sticker die-cut-ready. Bake them all into the prompt; don't rely on the model defaults.
1. Transparent background — explicit. Models default to white background which breaks die-cut.
2. 300 DPI minimum, 1:1 aspect ratio at 2048×2048 pixels or larger — anything smaller pixelates at print size.
3. Bold outline at 4-6pt stroke weight — gives the printer a clear edge to trace.
4. Flat color blocking — photoreal gradients and complex shading break vinyl printing. Specify *"flat 2D vector illustration style"* or *"vinyl sticker print finish"*.
5. Single hero pose, centered, ~80% of frame — leaves margin for the 1/8" white edge bleed the printer adds.
Missing any of these = the printer can still produce a sticker, but it'll be lower quality and the knife path will be inconsistent.
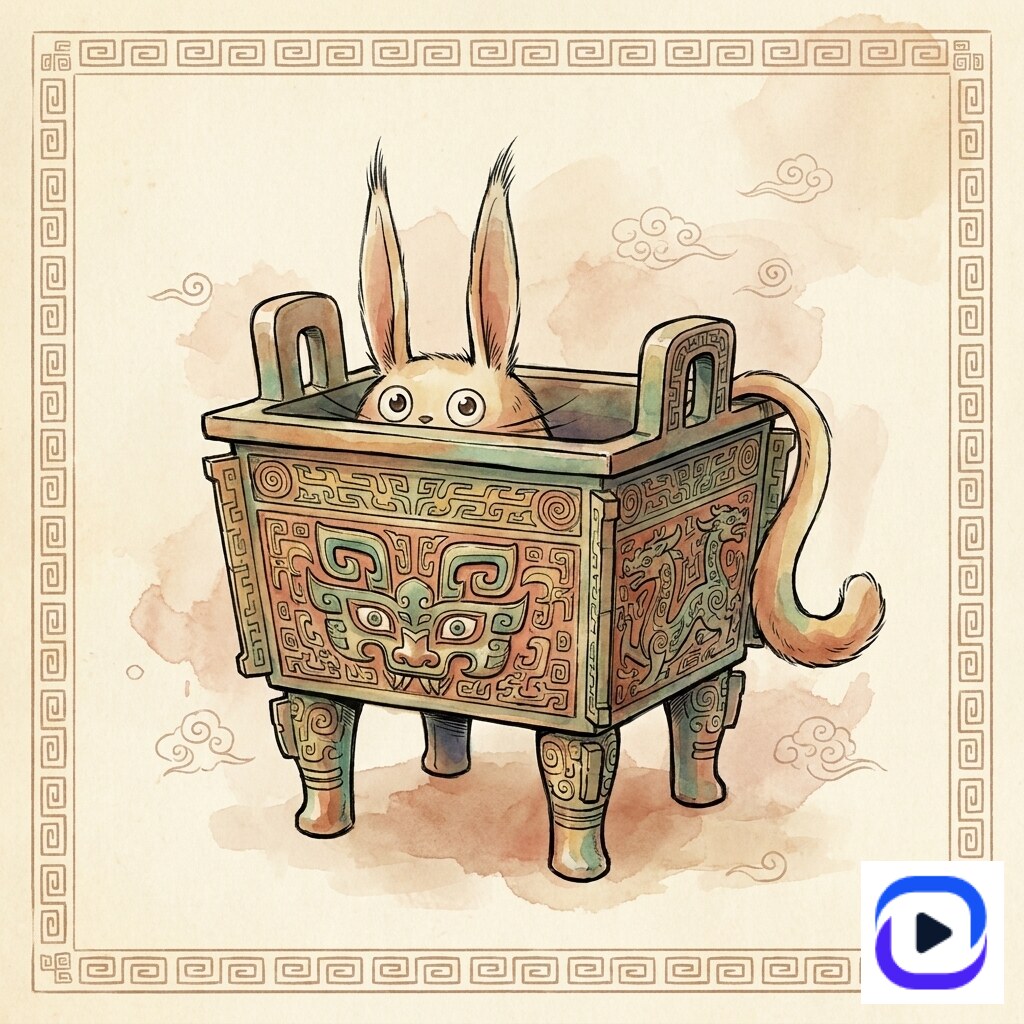
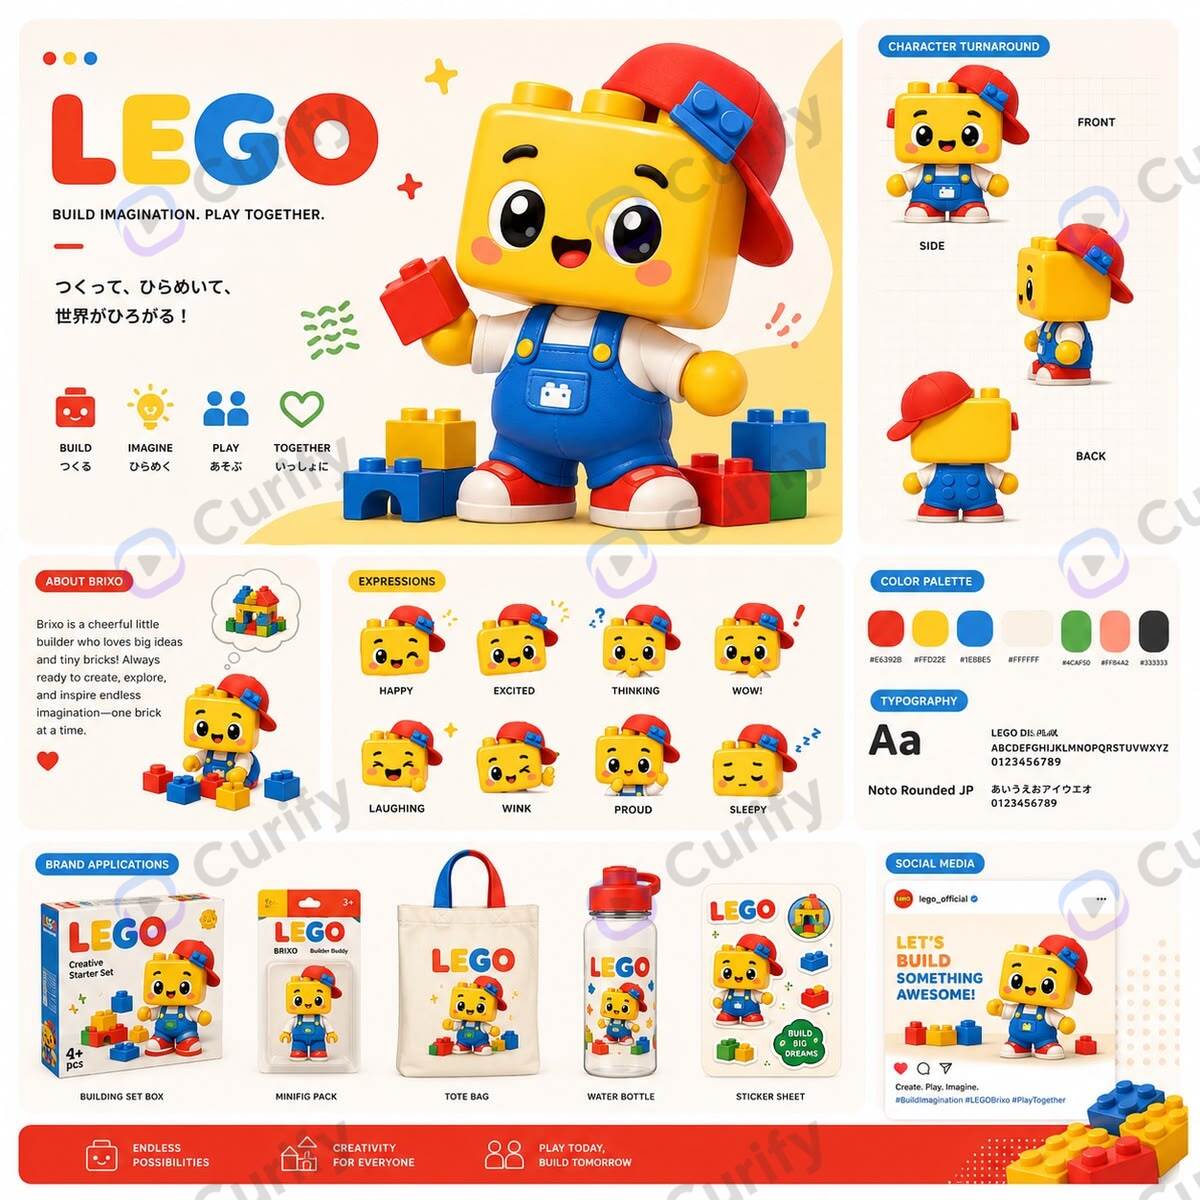
Step 2: Mascot single-cut — the canonical die-cut shape
The mascot single-cut is the highest-conversion die-cut SKU on Etsy. One character, bold outline, transparent background, ready to die-cut at 2"-6" with the same artwork. The Curify mascot template renders both a 4-pose design board AND an isolated single-cut hero in one prompt.
Open the Mascot Design Board template →
Production handoff: export the isolated hero pose at 2048×2048 PNG with transparency. Send to Sticker Mule for auto-trace OR to Gelato with a manually-traced contour path (Illustrator's *Object → Image Trace → Make and Expand* gives a usable path in 30 seconds).
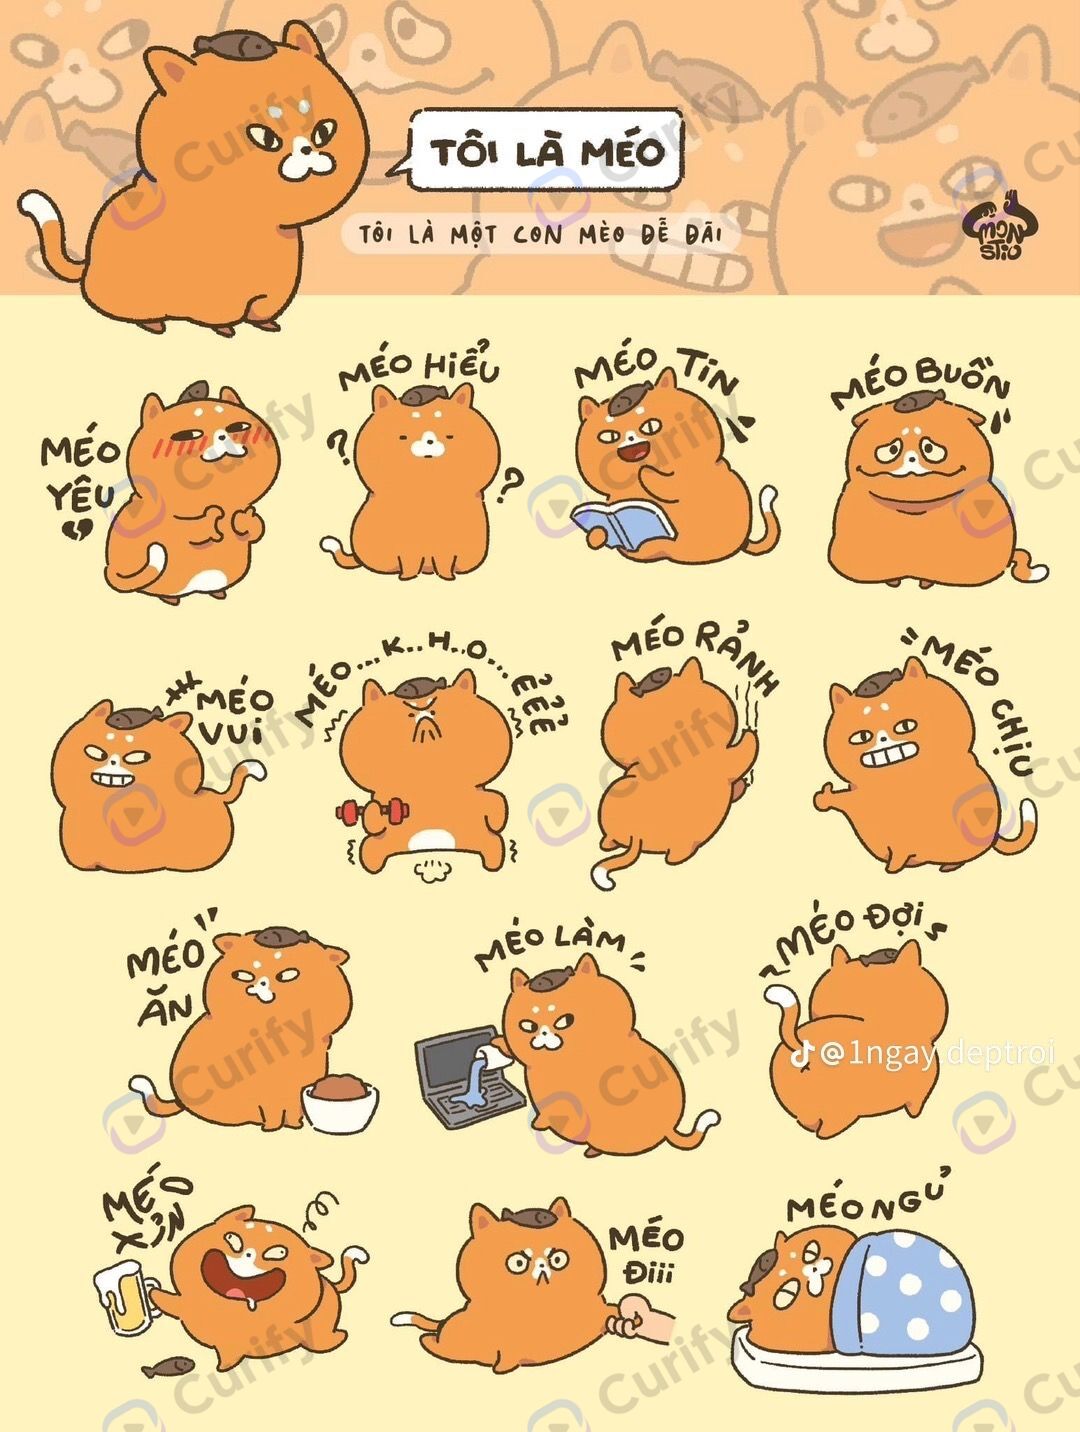
Step 3: Multi-character pack — the kiss-cut sheet variant
If you're producing sticker *sheets* (kiss-cut, multiple stickers per page), the AI shortcut is generating the entire sheet layout from one prompt. The Curify emoji sticker sheet template handles this: 9-12 mini-stickers on one A4 or 6×4 inch sheet, all in one parameterized character style.
Open the Emoji Sticker Sheet template →
Kiss-cut spec: 5mm gutter between stickers, individual sticker outlines visible (so the buyer perceives them as separate stickers), sheet edge has a 3mm bleed margin. The template handles all three; the operator just specifies the character.
Step 4: Photo-overlay die-cut (the cafe vertical)
Photo-overlay stickers are a strong die-cut variant in the lifestyle / food cafe vertical. The artwork is a real photographed scene with hand-drawn doodle elements layered on top — die-cut around the entire scene (rectangle or rounded-rectangle die-cut).

Open the Food Photo Doodle Overlay template →
Why this format works for cafes and food brands: doubles as a printed wall poster (12×18 inches), a notebook sticker (3×4 inches), and a laptop sticker (4×5 inches) — same artwork, three SKUs. Highest revenue-per-design ratio in the catalog.
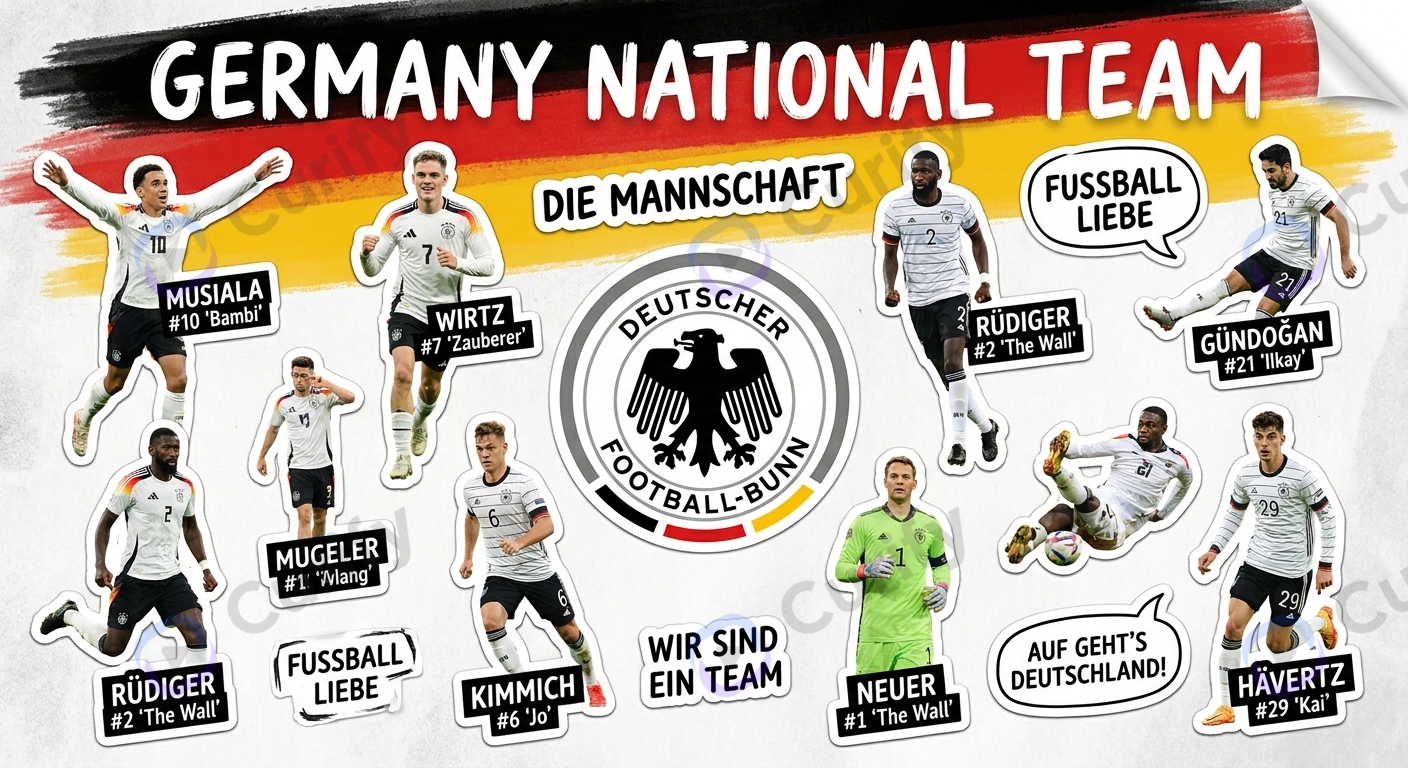
Step 5: Country / team die-cut (the seasonal SKU at velocity)
Country-team and IP-event stickers are die-cut's seasonal velocity play. World Cup year, every team gets a die-cut sticker. The template encodes country identity (flag colors, crest, mascot icon) so a 32-country swap takes ~30 minutes of render time.
Open the WC Team Sticker template →
Production angle: country stickers ship best as 3" die-cut singles. The shape variance across countries (eagle vs crown vs leaf) means each die-cut has a distinct silhouette — premium feel for $4-5 retail.
Where AI + die-cut still trips operators
Auto-trace fails on intricate silhouettes. The mascot with a tail wrapped around itself or character with a held prop confuses auto-trace. Manual Illustrator path-cleanup is a 5-minute job. Models can also produce semi-transparent edge artifacts that auto-trace reads as the outline — solve by asking the prompt for *"hard-edge cutout, no anti-aliased halo"*.
Color shift on white vinyl vs holographic vinyl. The same artwork prints differently on premium materials. Order a sample print before committing to a 500-unit run; expect ~10% saturation loss on holographic, ~5% on transparent vinyl.
Gelato AI auto-trace can be unreliable on character outlines — a known limitation echoing the broader pattern where Gelato has bet heavily on AI for customer-facing processes (their Scoop support bot is the canonical anti-AI POD case study). For mission-critical die-cut paths, Sticker Mule's auto-trace is more reliable.
Copyright on AI character stickers. AI-generated characters that are *too close* to existing IP (Stitch, Pikachu, BT21) get takedowns. The template approach is safer because you specify *original* brand inspiration — "Curify mascot" or "Empress Cow Cat" — rather than copying.
Print resolution mismatch. Generating at 1024×1024 and trying to print at 6×6 inches = visible pixelation. The 2048×2048 / 300 DPI minimum is not negotiable. Re-render at the right resolution rather than upscaling.
Production tools: where to print die-cut stickers
Sticker Mule — best for one-off and small batches. Auto-trace works on most AI artwork without manual prep. 4×4 die-cut runs $42 / 50 units, $89 / 100 units, $169 / 200 units. 4-day production + 3-day shipping. Highest production quality in the consumer tier.
StickerYou — best for kiss-cut sheets and multi-sticker products. Auto-trace + operator review. Slightly higher per-unit cost than Sticker Mule but better for custom sheet layouts.
Gelato (Print-on-Demand) — best for catalog SKUs you don't want to inventory. POD model: customer orders → Gelato prints → ships direct. No upfront inventory cost. Requires manually-provided contour path OR their AI auto-trace beta. Markup is yours; production margin is theirs.
Your own die-cutting machine (Cricut, Silhouette Cameo, Roland GS-24) — best when you're producing 1,000+ stickers per month. $300-1,500 machine + per-unit vinyl cost ~$0.15. Margin per sticker rises from ~30% (POD) to ~80% (DIY) at this volume.
Most operators start at Sticker Mule for proof-of-concept (50 units), graduate to Gelato POD for catalog growth, and only buy a machine when monthly volume justifies the time investment.
The Curify die-cut workflow
Curify is the design front-end of the die-cut sticker workflow: prompt → AI render → print-ready artwork. The production back-end (Sticker Mule / StickerYou / Gelato / your own machine) handles the knife.
For solo Etsy sellers and side-hustlers: use the 4 sticker template families directly via the /nano-template browsing surface. Pick the right pattern (mascot single-cut / emoji sheet kiss-cut / photo overlay / country team), render at 2048×2048, send to Sticker Mule's auto-trace.
For POD operators and merchandise studios: the template engine licenses as API + custom-template authoring. Best fit if you're shipping past 50 SKUs and need style coherence across the catalog — the SKU-velocity wall most operators hit. See /use-cases/for-merch-operators for the operator-side positioning.
For agencies producing client sticker lines: the same template engine with white-label rendering. Brand the front-end as your studio, ship client SKUs at agency-margin pricing.
For the broader sticker design landscape (not just die-cut — emoji sheets, photo overlays, team stickers), see the sibling AI Sticker Design Guide.
Ship a die-cut sticker this week
Pick a mascot or character you want as a die-cut sticker, run the Mascot Design Board template, export the single-cut hero pose at 2048×2048 PNG, send to Sticker Mule for a 50-unit sample run. Total time investment is under 2 hours from prompt to ordered sample.
Most operators see first sales within 14 days of listing, with die-cut single-sticker SKUs converting at 3-5x the rate of plain printable stickers.
Reach out via /contact for sticker-operator licensing or production workflow consulting.
Popular Template Examples
Explore our most popular Nano Banana prompt templates to see what's possible:
Take the next step
Putting what you read into practice.
Related Articles
AI Strategy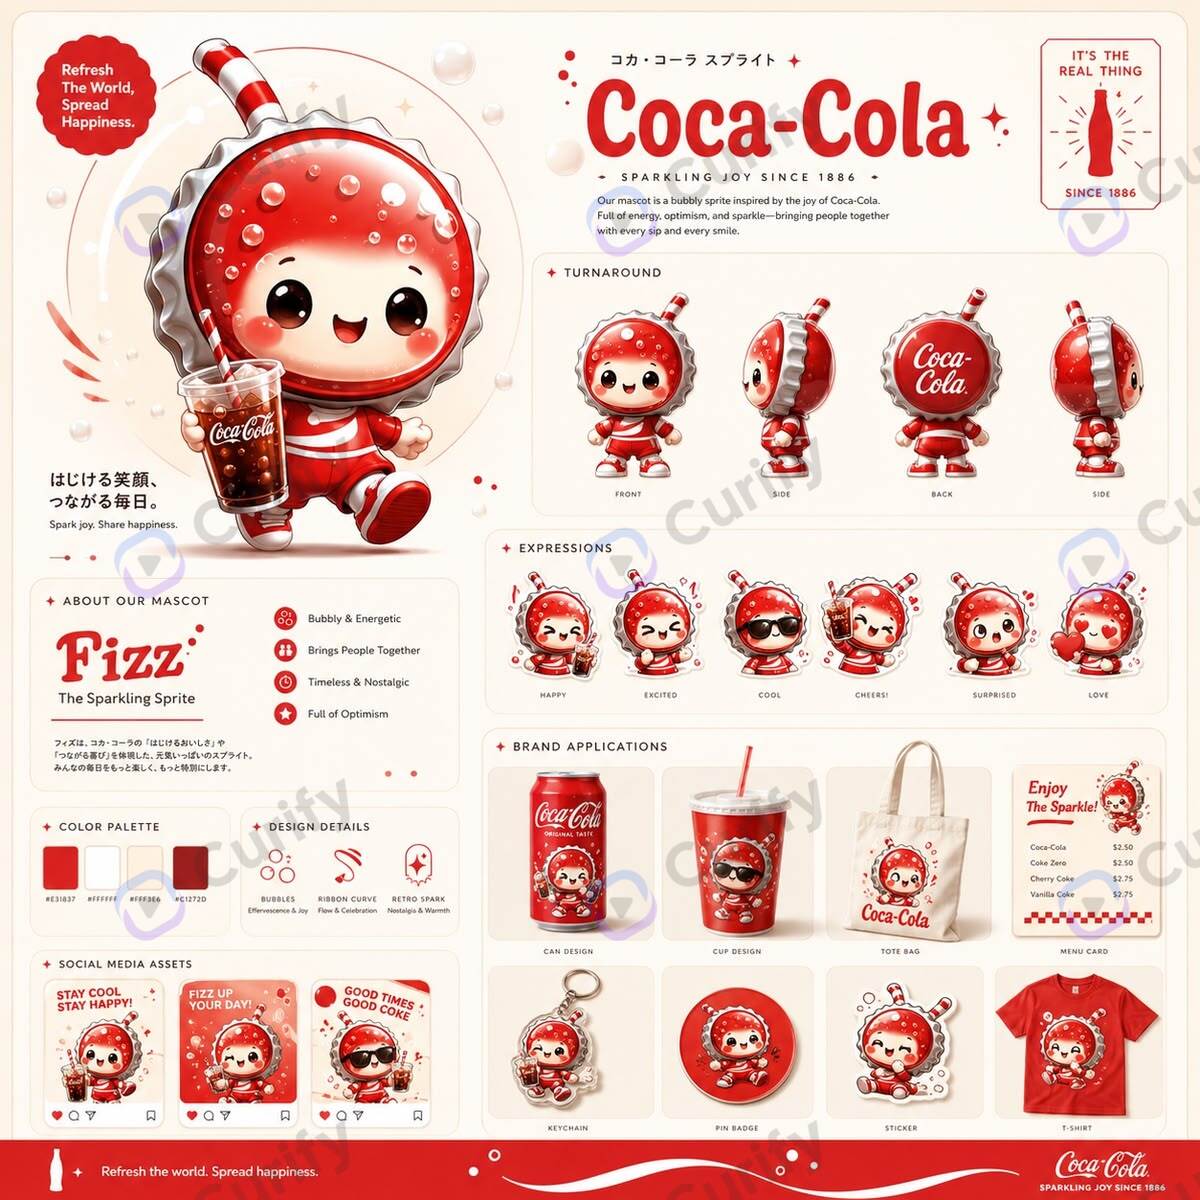
AI Sticker Design Guide: From Mascot to Mockup in 10 Minutes
Designer Toy IP Merchandise Design: The 2026 AI Production Workflow